Create a simple GraphQL API with Node JS
I used for the first time GraphQL a few days ago and i wanted to share with you what i learned.
In this project, we are going to use GraphQL for one of my favorite Tv Shows : Friends !

Let's get started
Create a new project
mkdir mygraphQlApi
cd mygraphQlApi
npm init
We are going to use :
- Koa
npm install koa --save
npm install koa-bodyparser koa-helmet koa-router --save
- Knex and Knex CLI
npm install knex -g
npm install knex@0.13.0 -g
- Postgres
npm install pg --save
- GraphQL
npm install graphql graphql-tools apollo-server-koa --save
Create the Database
We are going to connect to Postgres
sudo -u postgres psql postgres
Then create the database
postgres=# CREATE DATABASE friends;
List your databases to see your new DB just created
postgres=# \list
                                   List of databases
    Name     |  Owner   | Encoding |   Collate   |    Ctype    |   Access privileges
-------------+----------+----------+-------------+-------------+-----------------------
 friends     | postgres | UTF8     | fr_FR.UTF-8 | fr_FR.UTF-8 |
 postgres    | postgres | UTF8     | fr_FR.UTF-8 | fr_FR.UTF-8 |
 template0   | postgres | UTF8     | fr_FR.UTF-8 | fr_FR.UTF-8 | =c/postgres          +
             |          |          |             |             | postgres=CTc/postgres
 template1   | postgres | UTF8     | fr_FR.UTF-8 | fr_FR.UTF-8 | =c/postgres          +
             |          |          |             |             | postgres=CTc/postgres
Finally create a user with a password
CREATE USER myusername WITH PASSWORD 'password';
Connect to your DB
psql -h localhost -d friends -U myusername
Password for user myusername:


friends=>
Everything is fine !
Type \q to quit.
Back to the project
We are going to create a folder called knex and some subfolders for our seeds, migrations and queries.
mkdir knex
mkdir knex/migrations
mkdir knex/seeds
mkdir knex/queries
Then, to store some data, we are goind to create a folder called data, with a cast.js file inside that folder.
mkdir data
cd data
touch cast.js
Initiate the project
knex init
This command will create a file called knex.js
Let's modify the file like this :
module.exports = {
 development: {
  client: 'pg',
  connection: 'postgres://username:password@localhost:5432/database',
  migrations: {
      directory: __dirname + '/knex/migrations',
    },
    seeds: {
      directory: __dirname + '/knex/seeds'
    }
 }
};
NB : Replace the username, password and database value with the right ones.
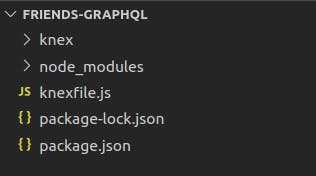
Now your project should look like this

The Database is empty !
For now, you have a database, but with no data ! Let's fix that !
First , let's create a table on the DB.
knex migrate:make cast
Using environment: development
Created Migration: /path/of/your/project/knex/migrations/20210207185018_cast.js
This command is going to create a migration file, let's modify it like this
exports.up = (knex) => Promise.all([
    knex.schema.createTable('cast', function(table) {
        table.increments();
        table.string('firstName').notNullable();
        table.string('lastName').notNullable();
        table.string('Food').notNullable();
    })
]);

exports.down = (knex) => {
return knex.schema.dropTable('cast');
};
Now let's "run" the migration
knex migrate:latest --env development
Using environment: development
Batch 1 run: 1 migrations
Now that we have a table, let's fill it with some data. We are going to "seed" the table.
knex seed:make cast_seed
Using environment: development
Created seed file:/path/of/your/project/knex/seeds/cast_seed.js
In the data folder, go to your cast.js file and complete it like this :
module.exports = [
    {
      "firstName": "Chandler",
      "lastName": "Bing",
      "Food": "Cheesecake"
    },
    {
        "firstName": "Monica",
        "lastName": "Geller",
        "Food": "Mint Cookies"
    },
    {
        "firstName": "Joey",
        "lastName": "Tribiani",
        "Food": "Pizza"
    }
];
Complete your seed file like this to seed the DB with the data from your file.
const castData = require('../../data/cast');

exports.seed = function(knex) {
  // Deletes ALL existing entries
  return knex('cast').del()
    .then(function () {
      // Inserts seed entries
      return knex('cast').insert(castData);
    });
};
Let's now run this command
knex seed:run --env development
Using environment: development
Ran 1 seed files
Let's connect to the DB, to see our data
psql -h localhost -d friends -U myusername
Password for user myusername:

friends=> SELECT * FROM public.cast;
 id | firstName | lastName |    Food
----+-----------+----------+-------------
  1 | Chandler  | Bing     | Cheesecake
  2 | Monica    | Geller   | MintCookies
  3 | Joey      | Tribiani | Pizza
(3 rows)
Congrats, you have now a DB, with a table called cast, and some data in that table!
Next step, the GraphQL part !
GraphQL part
Now let's make the GraphQL part.
Let's create a file called index.js
touch index.js
It should look like this
const Koa = require('koa');
const { ApolloServer, gql } = require('apollo-server-koa');
const queries = require('./knex/queries/queries.js');

const typeDefs = gql`
  type Cast {
    firstName: String
    lastName: String
    Food: String
  }
  type Query {
    cast(firstName: String, lastName: String, Food: String): [Cast]
  }
`;

const schema = {
  typeDefs,
  resolvers: {
    // Prototypes for GET
    Query: {
      cast: (_, filters) => queries.getCast(filters),
    }
  }
}

const server = new ApolloServer(schema);

const app = new Koa();
server.applyMiddleware({ app });

app.listen({ port: 3000 }, () =>
  console.log(`🚀 Server ready at http://localhost:3000${server.graphqlPath}`),
);
As you can see line 3, we are using queries , let's create them :
In the knex folder, we created a folder called queries. Let's create a file called queries.js
cd knex/queries
touch queries.js
const knex = require('../connect');

function getCast(filters) {
  return knex('cast')
  .select('*')
  .where(filters);
}

module.exports = {
  getCast
};
Let create the connect file used on the first line
cd ../
touch connect.js
const environment = process.env.NODE_ENV || 'development';
const config = require('../knexfile.js')[environment];

module.exports = require('knex')(config);
Now, let's start our server
node index.js
🚀 Server ready at http://localhost:3000/graphql
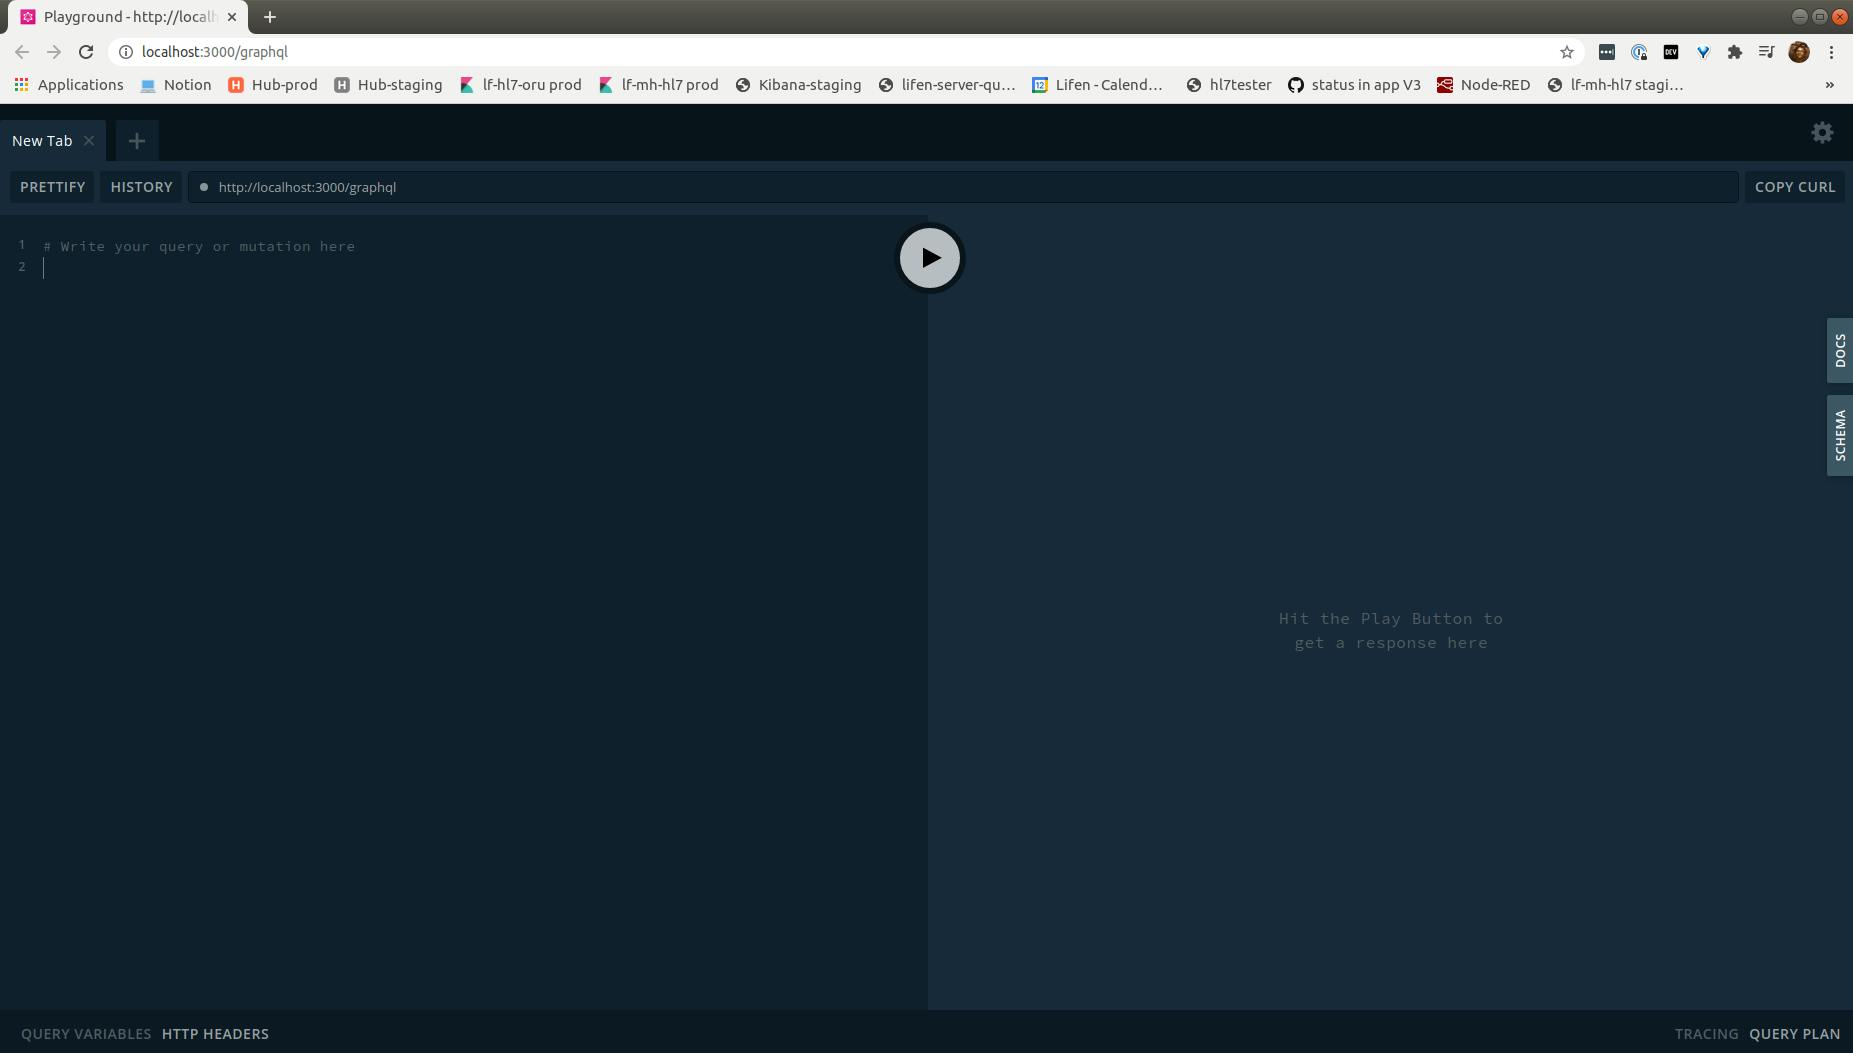
You should see something like this

Query some data
Let's try to query some data
# Write your query or mutation here
query Everyone {
  cast {
    firstName
  }
}
Click on the Play button
{
  "data": {
    "cast": [
      {
        "firstName": "Chandler"
      },
      {
        "firstName": "Monica"
      },
      {
        "firstName": "Joey"
      }
    ]
  }
}
Tadaaaam ! You have made your first query with GraphQL !
Let's add some characters
But wait a minute ... where is Ross ? and Rachel ? And Phoebe ?
We need to add them to our database.
Let's use Mutations for that.
In your index.js file, let's update the schema to add Mutations
# index.js
const typeDefs = gql`
  type Cast {
    firstName: String
    lastName: String
    Food: String
  }
  type Query {
    cast(firstName: String, lastName: String, Food: String): [Cast]
  }
  type Mutation {
  addSomeone(firstName: String, lastName: String, Food: String): [Cast]
}
`;

const schema = {
  typeDefs,
  resolvers: {
    // Prototypes for GET
    Query: {
      cast: (_, filters) => queries.getCast(filters),
    },
    // Prototypes for PUT
    Mutation: {
        addSomeone: async (_, cast) => {
          const newOne = await queries.addSomeone(cast);

          return newOne;
        }
      }
  }
}
Then in the queries.js file, let's create the actual queries for those mutations.
# queries.js

const knex = require('../connect');

function getCast(filters) {
  return knex('cast')
  .select('*')
  .where(filters);
}

function addSomeone(cast) {
    return knex('cast')
    .insert({
      firstName: cast.firstName,
      lastName: cast.lastName,
      Food: cast.Food
    })
    .returning('*');
}

module.exports = {
  getCast,
  addSomeone
};
Restart our server and write a Mutation to add Ross
mutation addRoss{
  addSomeone(firstName: "Ross", lastName: "Geller", Food: "Turkey Sandwich") {
    firstName
  }
}
Hit the play button
{
  "data": {
    "addSomeone": [
      {
        "firstName": "Ross"
      }
    ]
  }
}
Let's query all the cast once again
# Write your query or mutation here
query Everyone {
  cast {
    firstName
  }
}
Click on play ... and cross fingers
{
  "data": {
    "cast": [
      {
        "firstName": "Chandler"
      },
      {
        "firstName": "Monica"
      },
      {
        "firstName": "Joey"
      },
      {
        "firstName": "Ross"
      }
    ]
  }
}
Yeaaaah ! Now you can add all the others !
Conclusion
I just started learning GraphQL so i probably made some mistakes, i am still figuring out how to make everything work but i wanted to share this first milestone with you !
If you have some tips or resources to help me keep digging the subject, drop them on the comments !
The full code is here on GIthub : Code
