Setup a free VPN on AWS

I am a french Developer, working for a french startup :) i like video games, computers and drinking Ricoré
Like i told you on previous posts, i am preparing for the AWS Developer Associate Certification.
As i study for this certification, i am learning some stuff about the cloud and in this tutorial, i am showing you how to setup a free VPN on AWS.
What is a VPN ?
A virtual private network (VPN) gives online privacy and anonymity by creating a private network from a public internet connection.
To explain it in simple words, i am gonna use the definition that you can find here
https://www.howtogeek.com/133680/htg-explains-what-is-a-vpn/
In very simple terms, a VPN connects your PC, smartphone, or tablet to another computer (called a server) somewhere on the internet, and allows you to browse the internet using that computer’s internet connection. So if that server is in a different country, it will appear as if you are coming from that country, and you can potentially access things that you couldn’t normally.
It's exactly what we are gonna do.
How come is that free ??
Amazon Web Services has a free tier available for 12 months.
We are gonna use this free tiers to setup the VPN.
Of course, after 1 year, AWS is gonna charge you for it, but until that, you can play with it without spending any money !
Steps
The first thing you need is to create an AWS account.
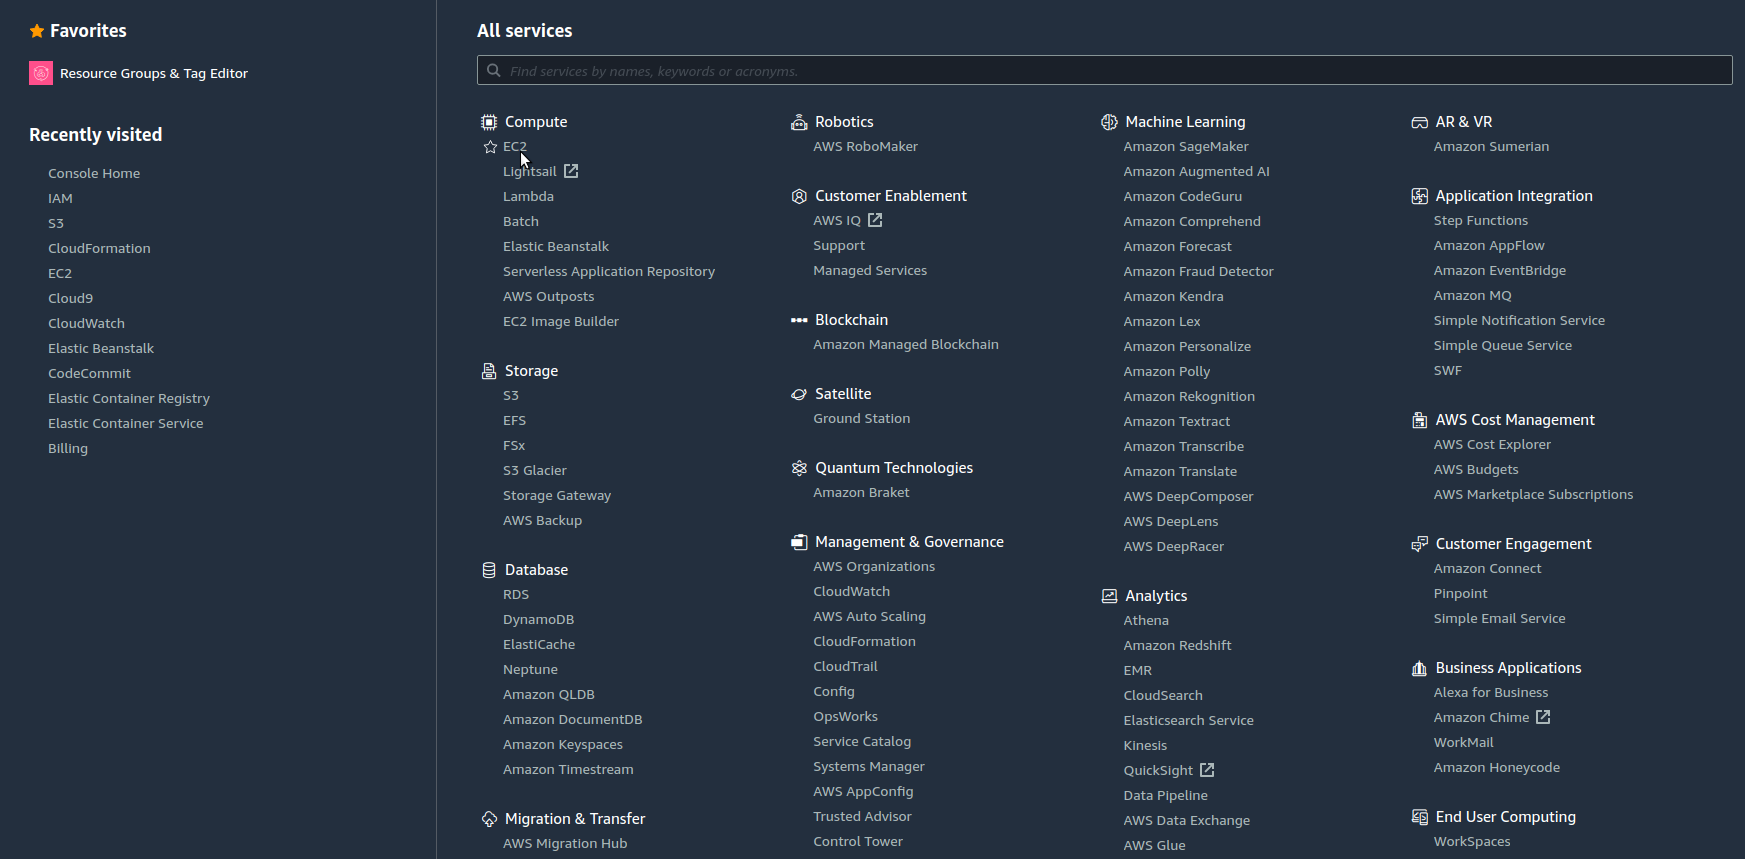
Once you have that, you are going to open the Amazon Management Console and click on Services
We are going to use EC2 (Amazon Elastic Compute Cloud)
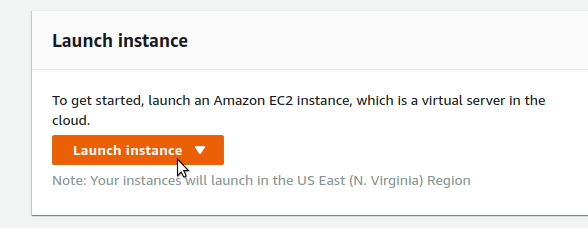
Once you are in the EC2 page, click on Launch Instance
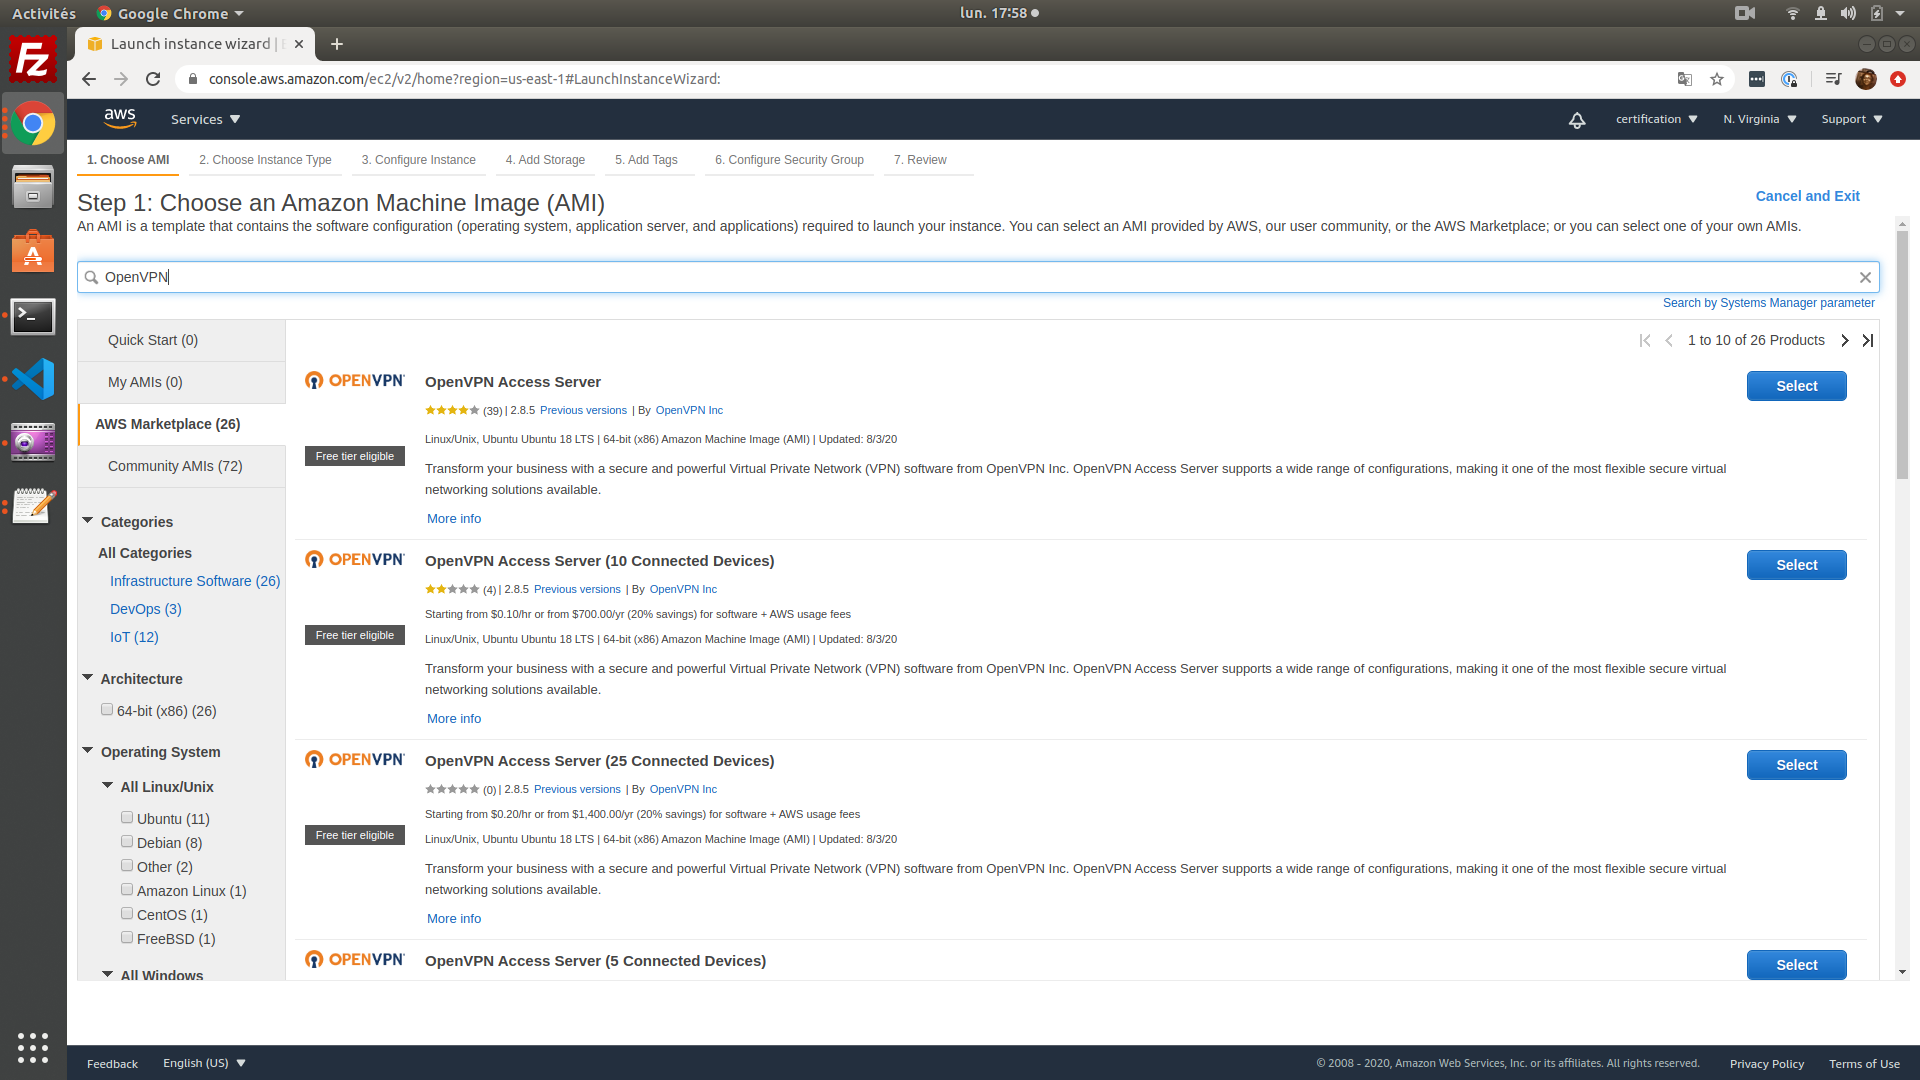
On the left, click on AWS Marketplace and type OpenVPN.
We are going to choose a virtual machine where OpenVPN is pre-installed.
Click on select
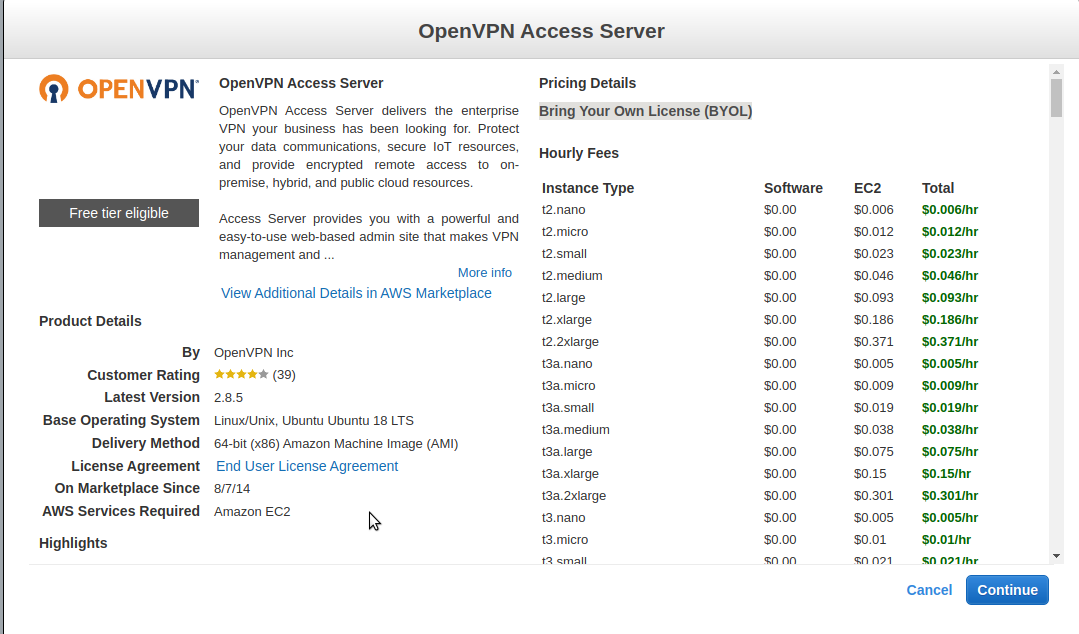
On the next pop-up, you are going to see the following.
Don't worry, it's free for 2 clients !
Click on continue.
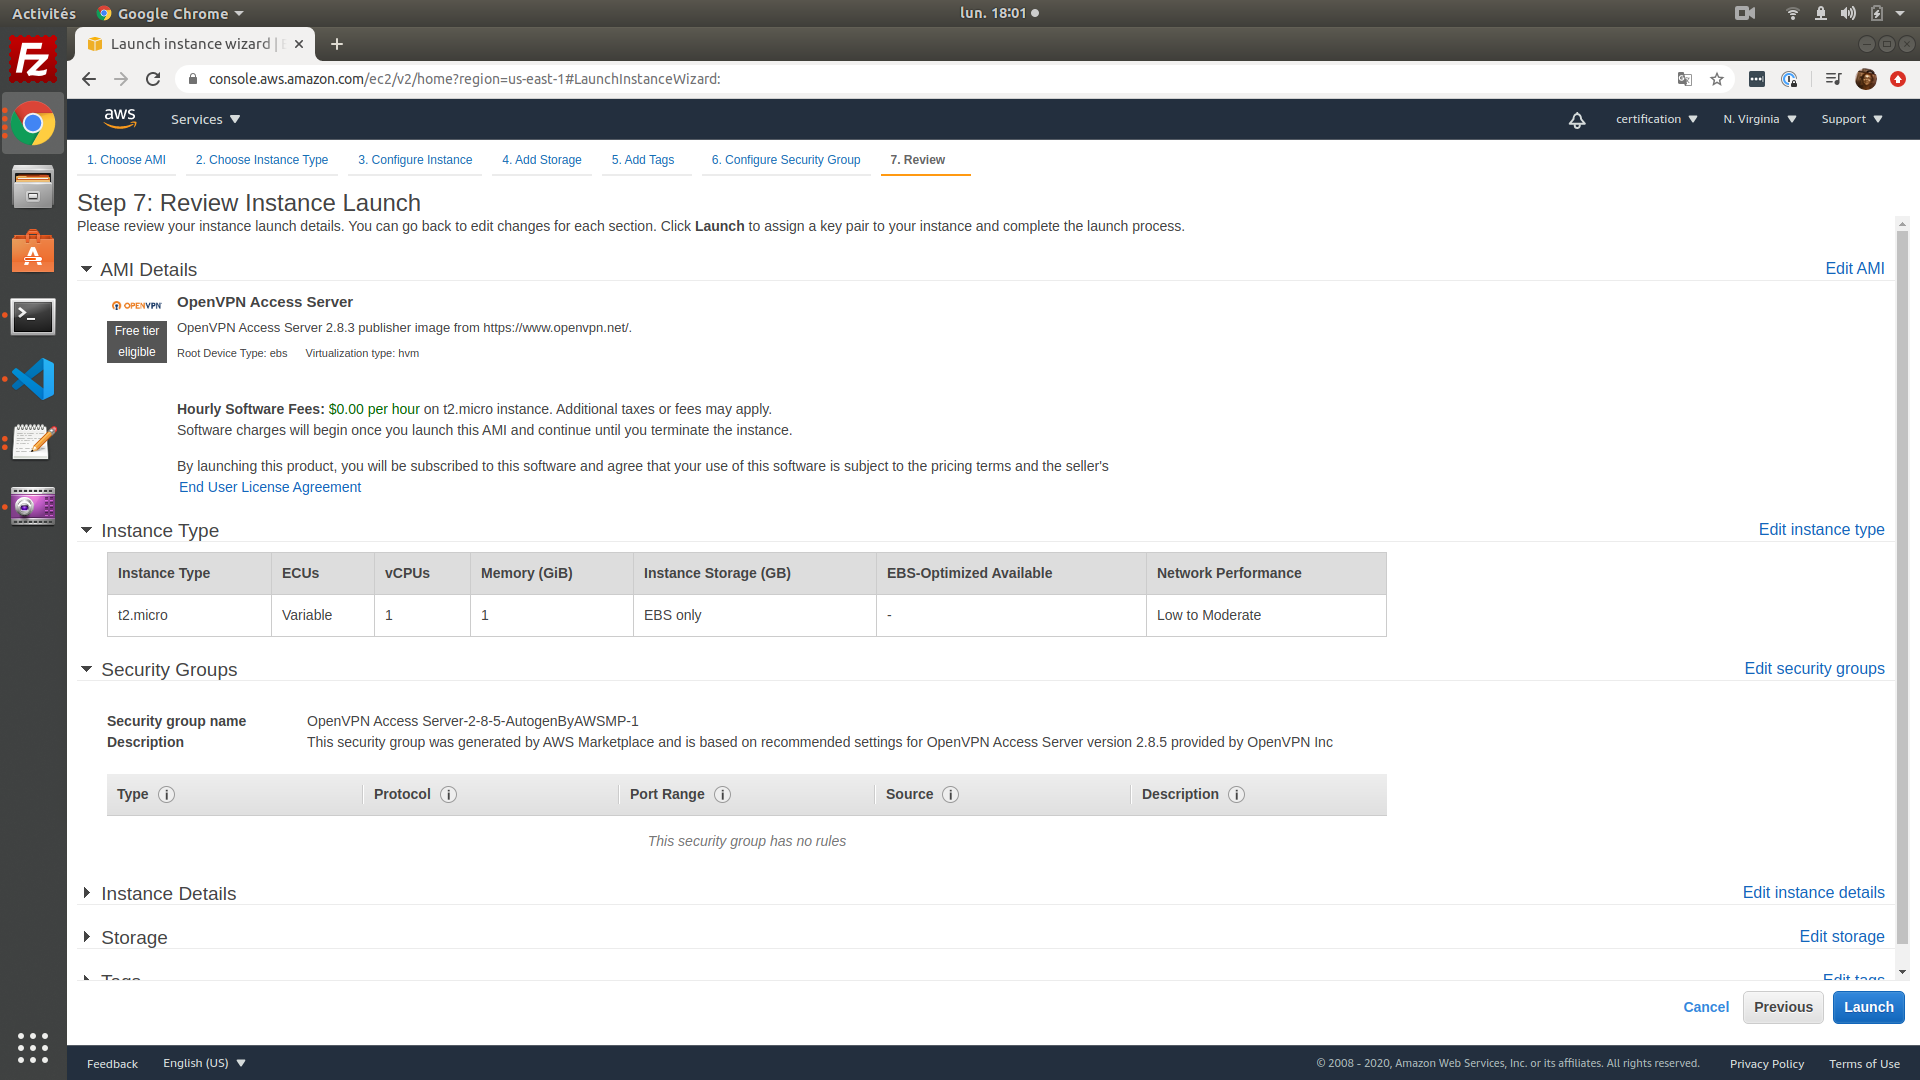
Then, choose the free tier eligible instance (not like i did on the capture haha).

Then, click on Launch
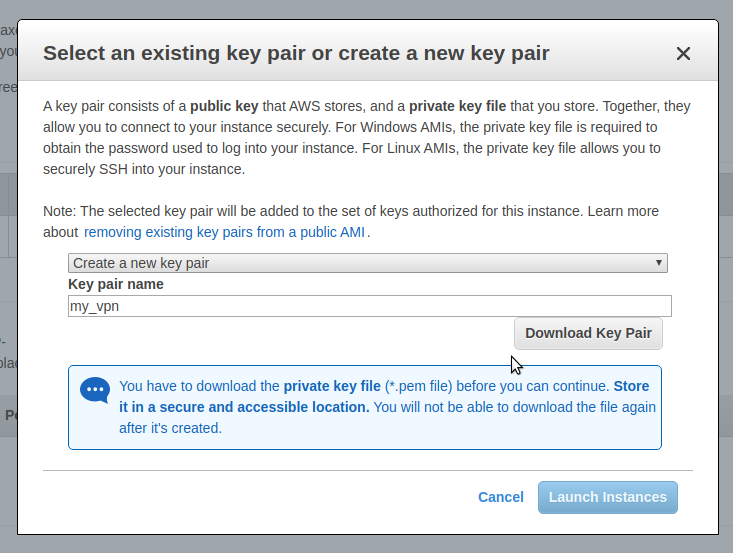
A pop-up is gonna ask you for a key pair.
Create a new one and download it !
Keep the file, you are going to need that later.
Click on Launch Instance
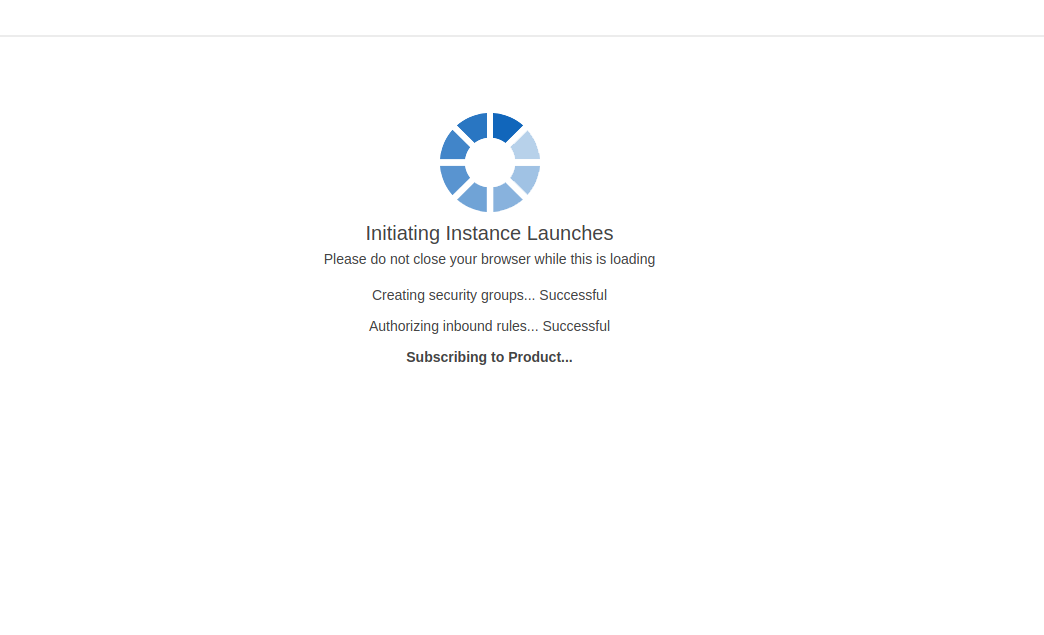
Wait a little bit for the instance to be ready for you :) !
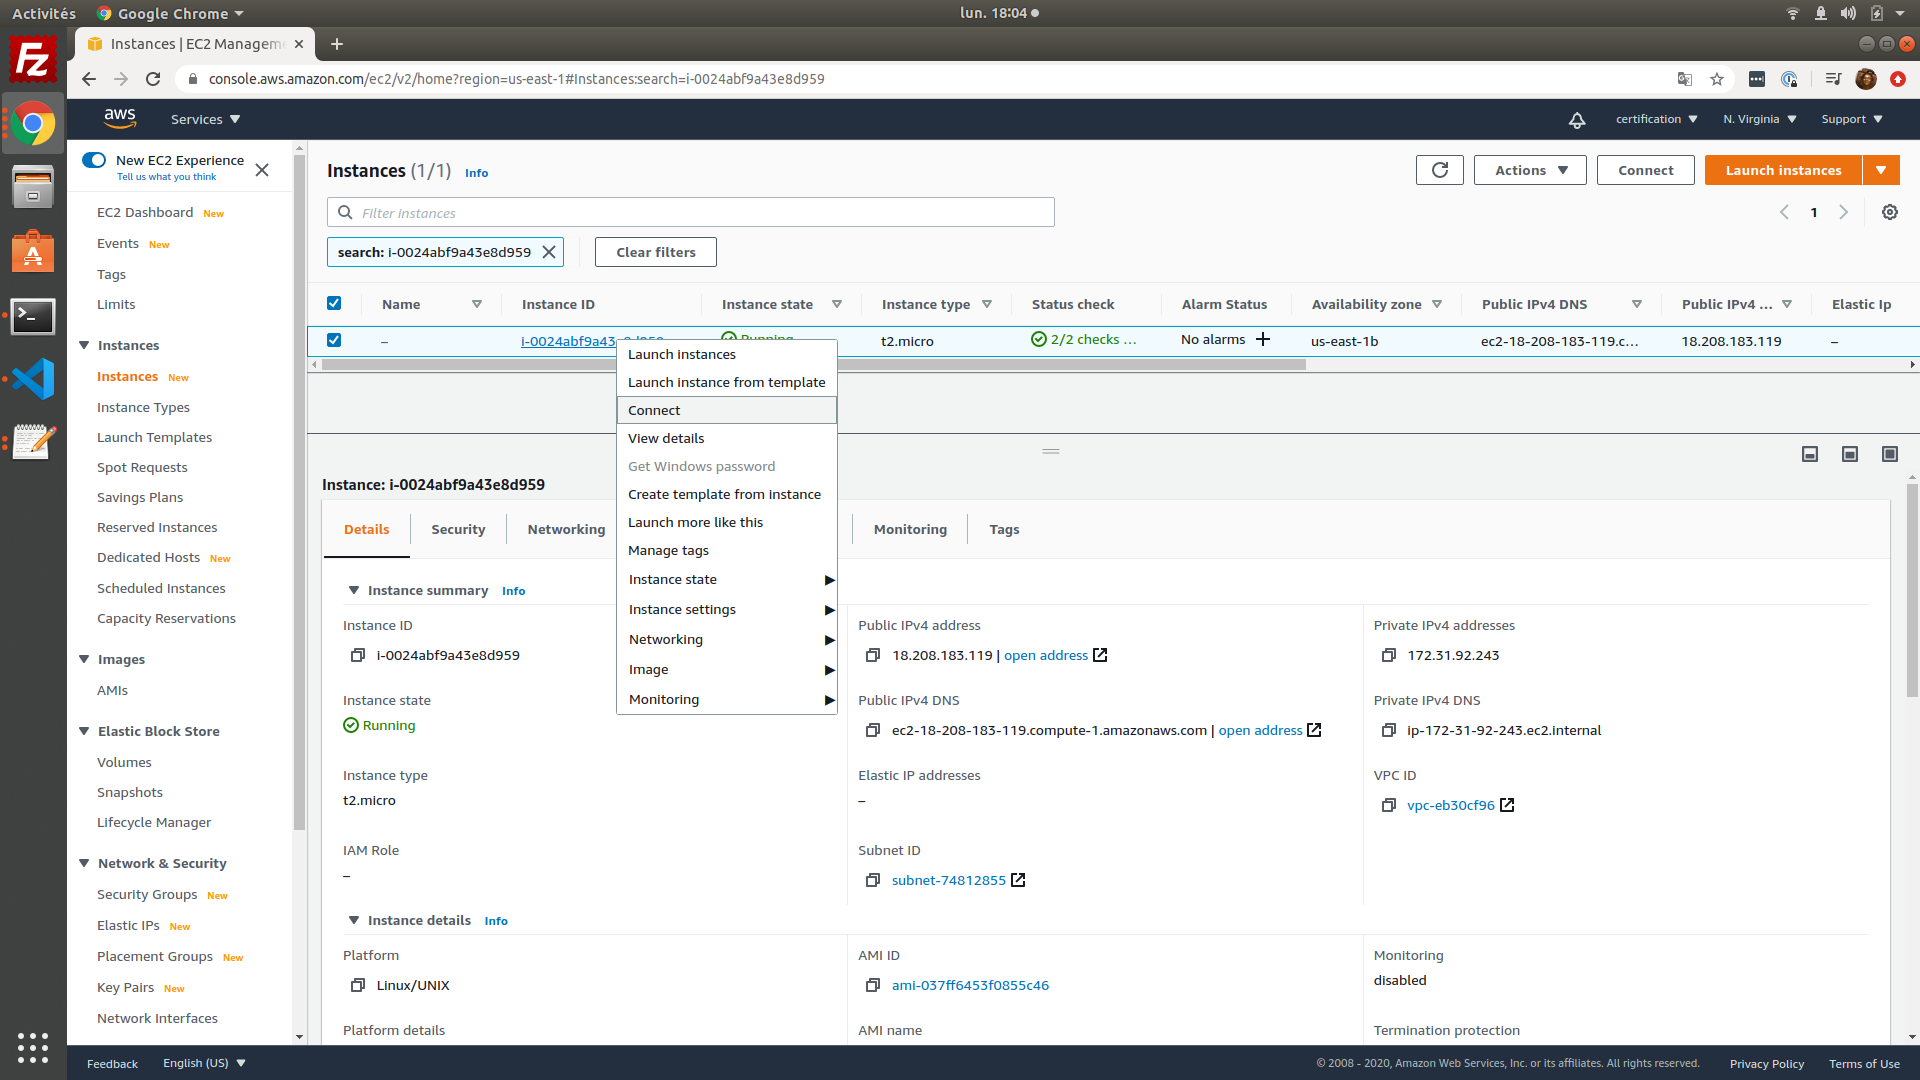
Now, we are going to connect to the machine with the key pair that we created a few steps above.
On the EC2 instances list, right click on yours and hit "Connect".
On the next page, choose the third choice : SSH connect
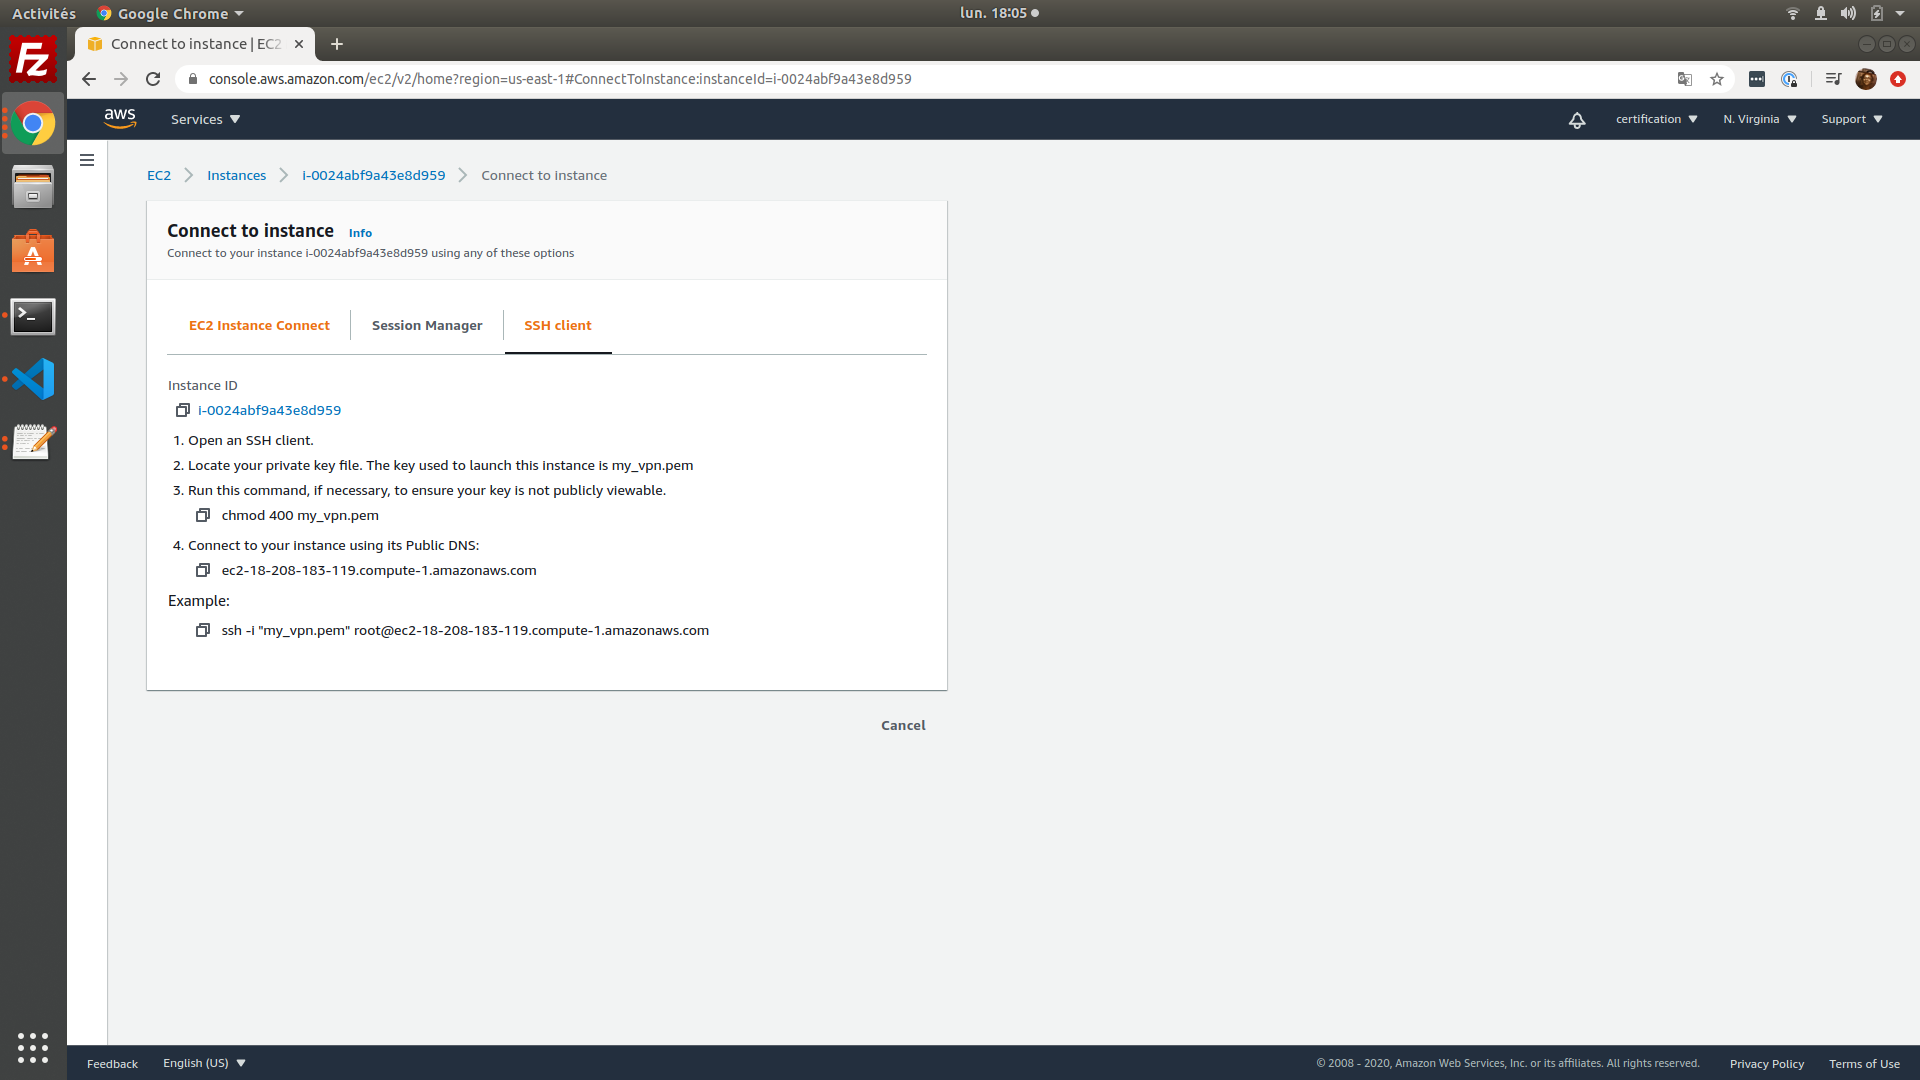
Open a terminal, on your computer and copy paste the example on the screen
ssh -i "my_vpn.pem" root@ec2-XX-XXX-XXX-XXX.compute-1.amazonaws.com
Be sure to be on the right folder where you downloaded your key. If not, modify the command like this
ssh -i "/path_where_my_doc_is/my_vpn.pem" root@ec2-XX-XXX-XXX-XXX.compute-1.amazonaws.com
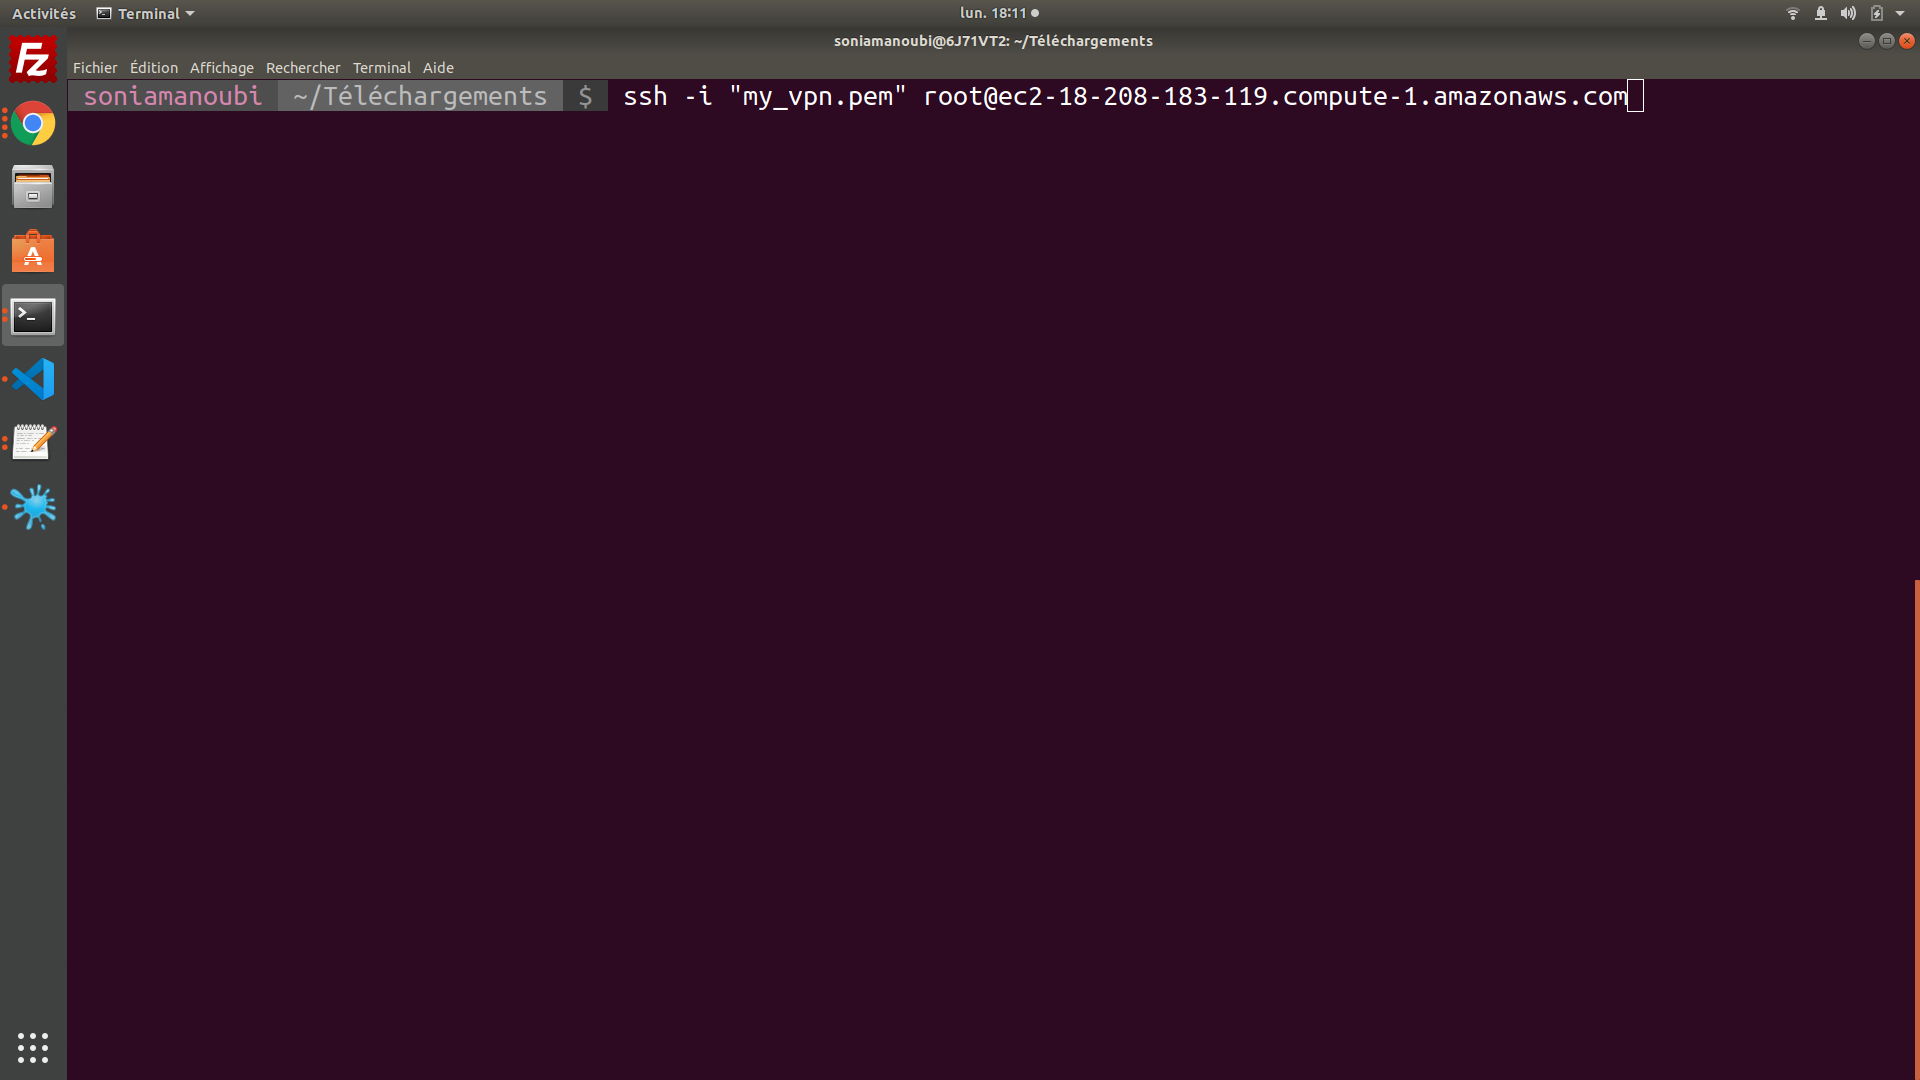
Hit enter !

If you are going too fast, (like me :p ), you are probably gonna see this error. You need to chmod the file ! They say it on the window where you choose SSH and copy the command, but i did not read the whole thing ...

After that, try again to connect, it's gonna work.
At the end, a message will say that you need to connect with the openvpas user instead of the root user.
Type this instead and hit enter
ssh -i "my_vpn.pem" openvpnas@ec2-XX-XXX-XXX-XXX.compute-1.amazonaws.com

Last thing, we are going to set up the password for the openvpn user
openvpnas@ip-XXX-XX-XX-XXX:~$ sudo passwd openvpn
Enter new UNIX password:
Retype new UNIX password:
passwd: password updated successfully
Now on your EC2 instance details, get the Public IPv4 DNS.
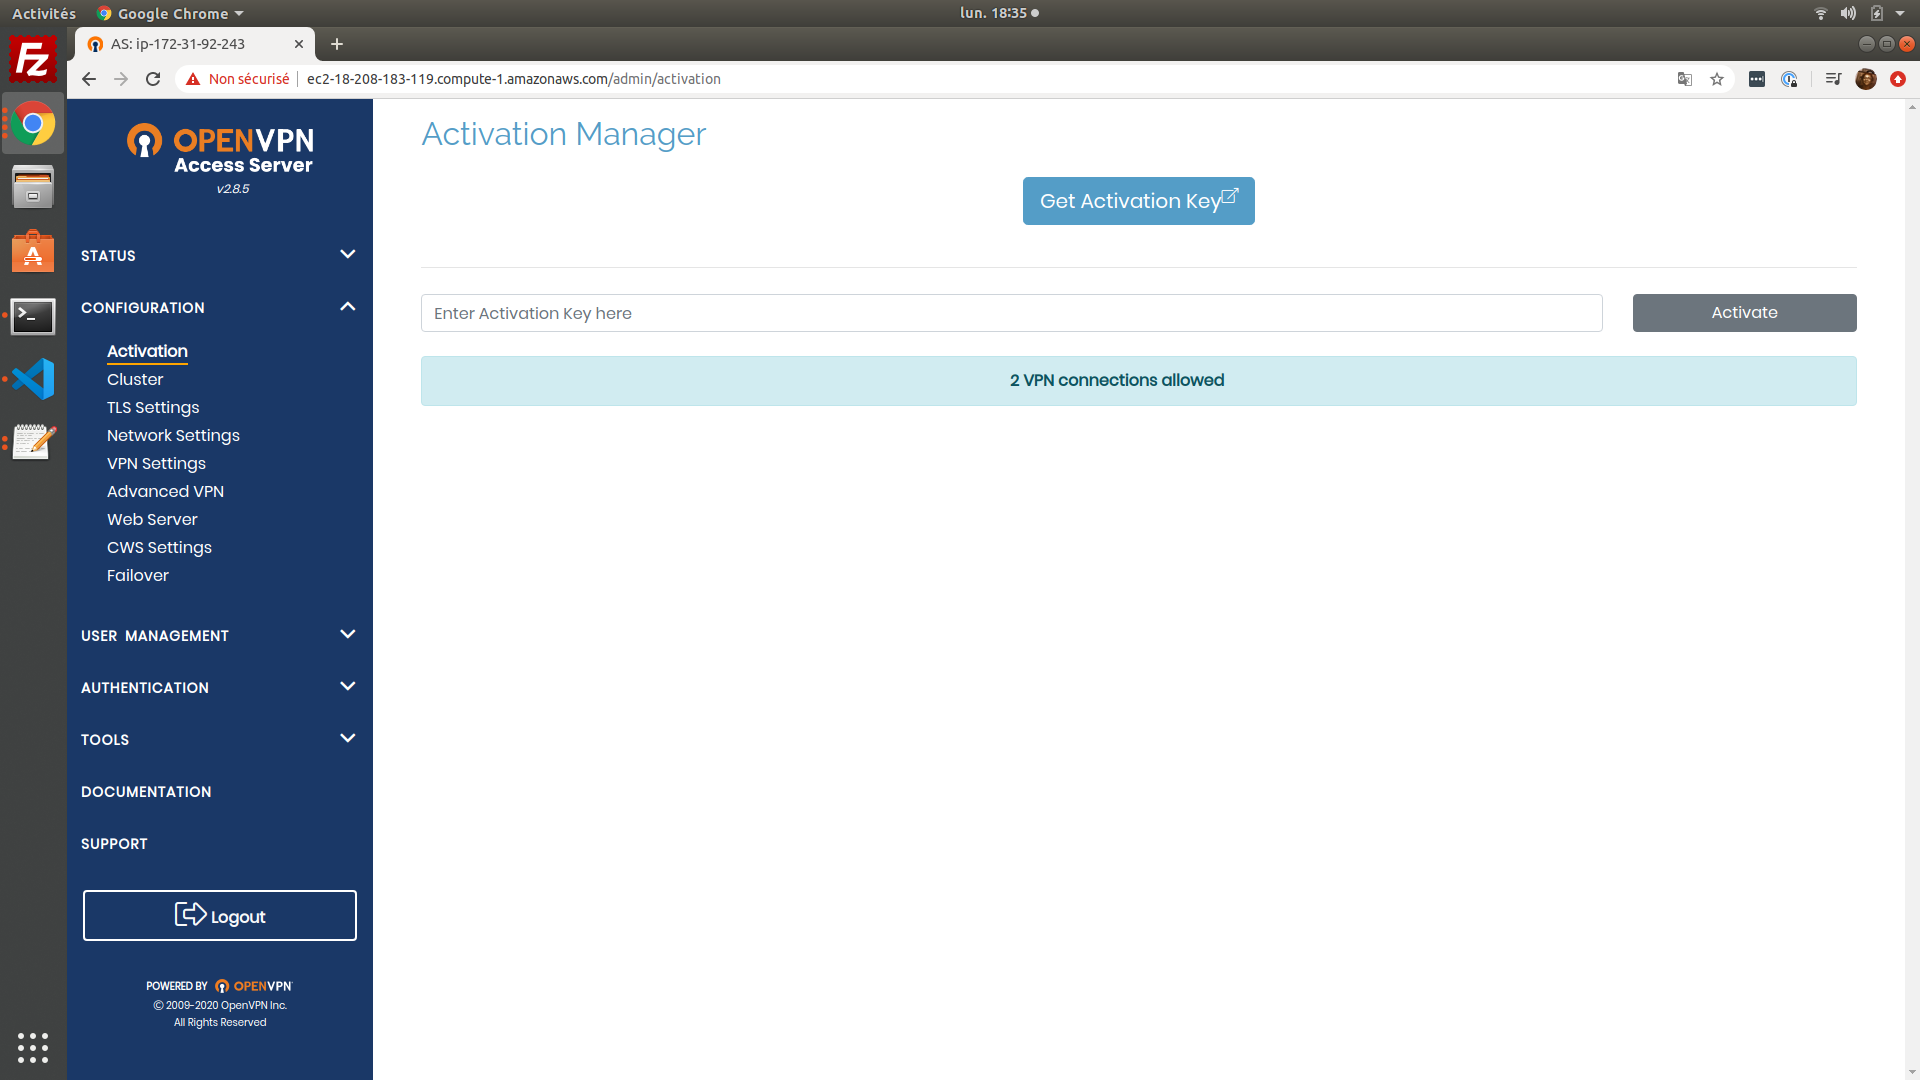
Go on your browser and type this to access to the admin dashboard.
(Don't forget the https in front of it )
https://Public_IPv4_DNS/admin
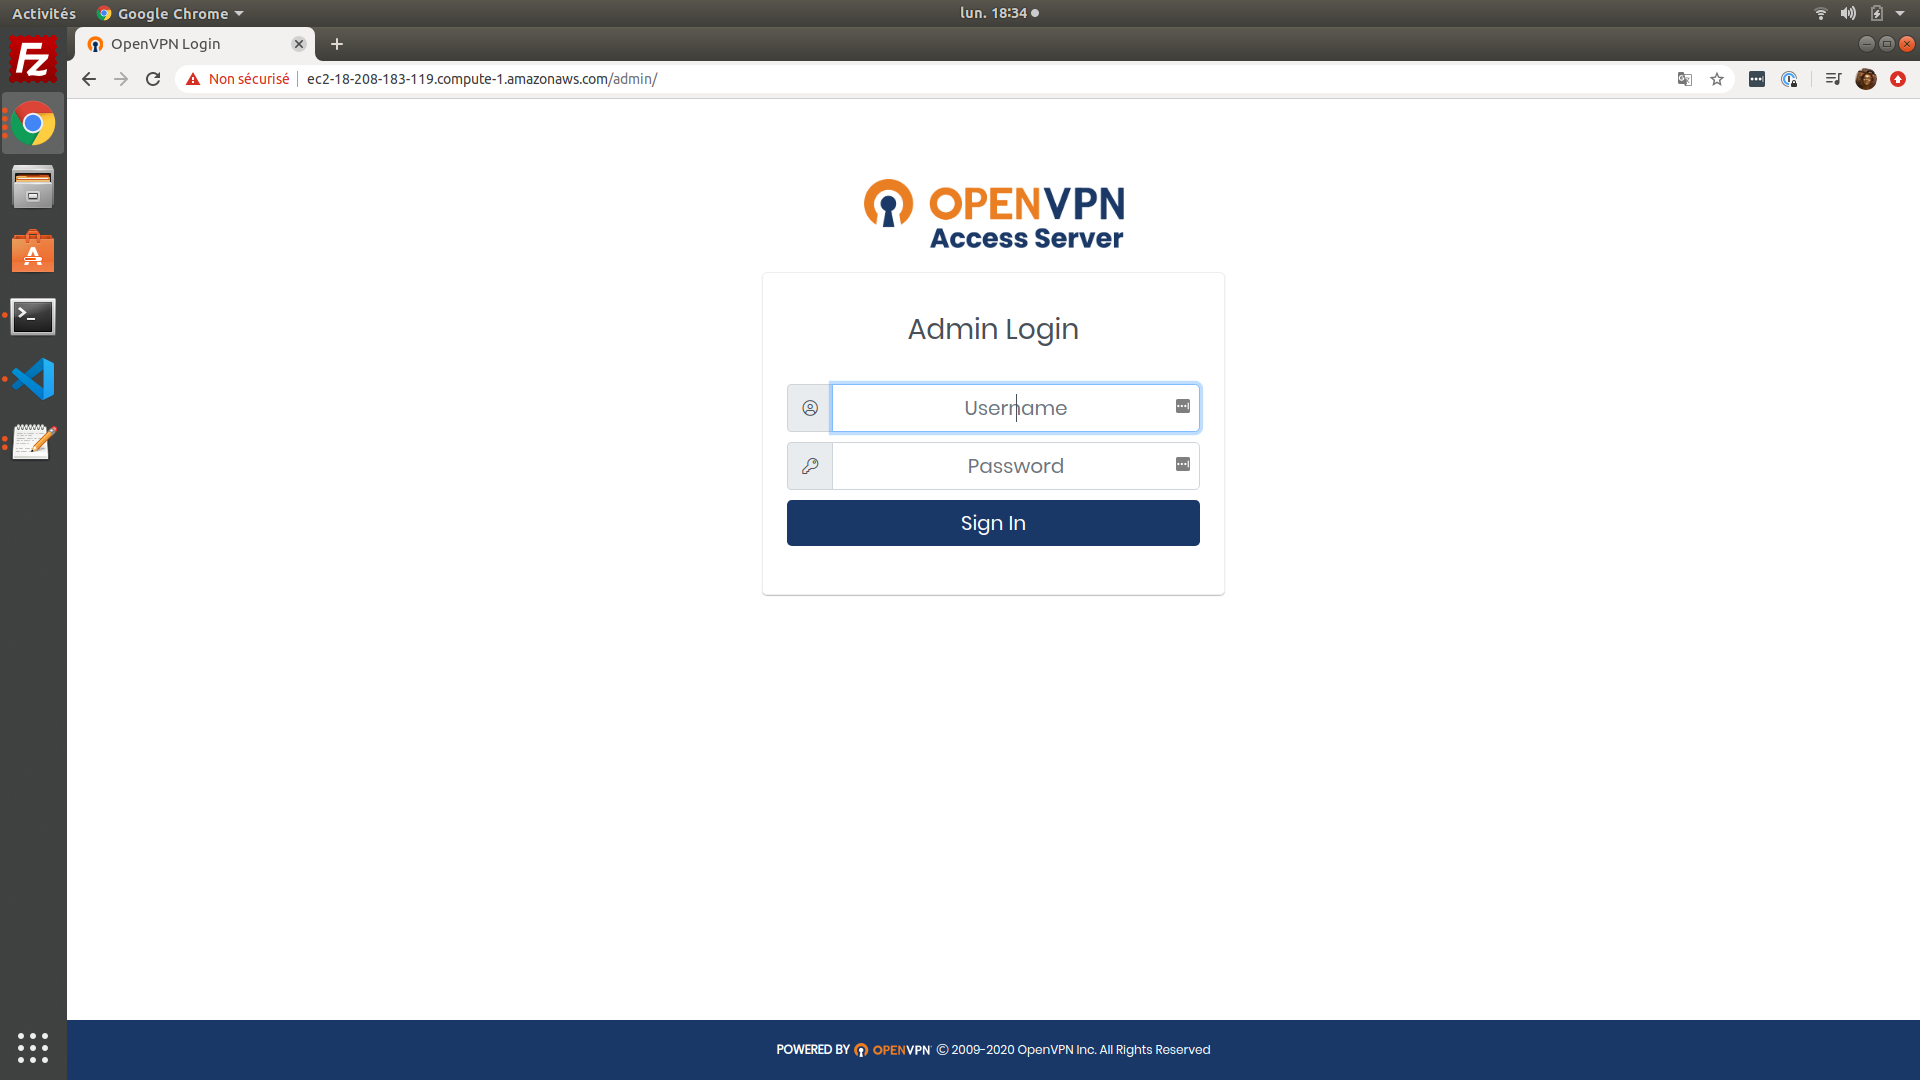
The user is openvpn.
The password is the one you just created.
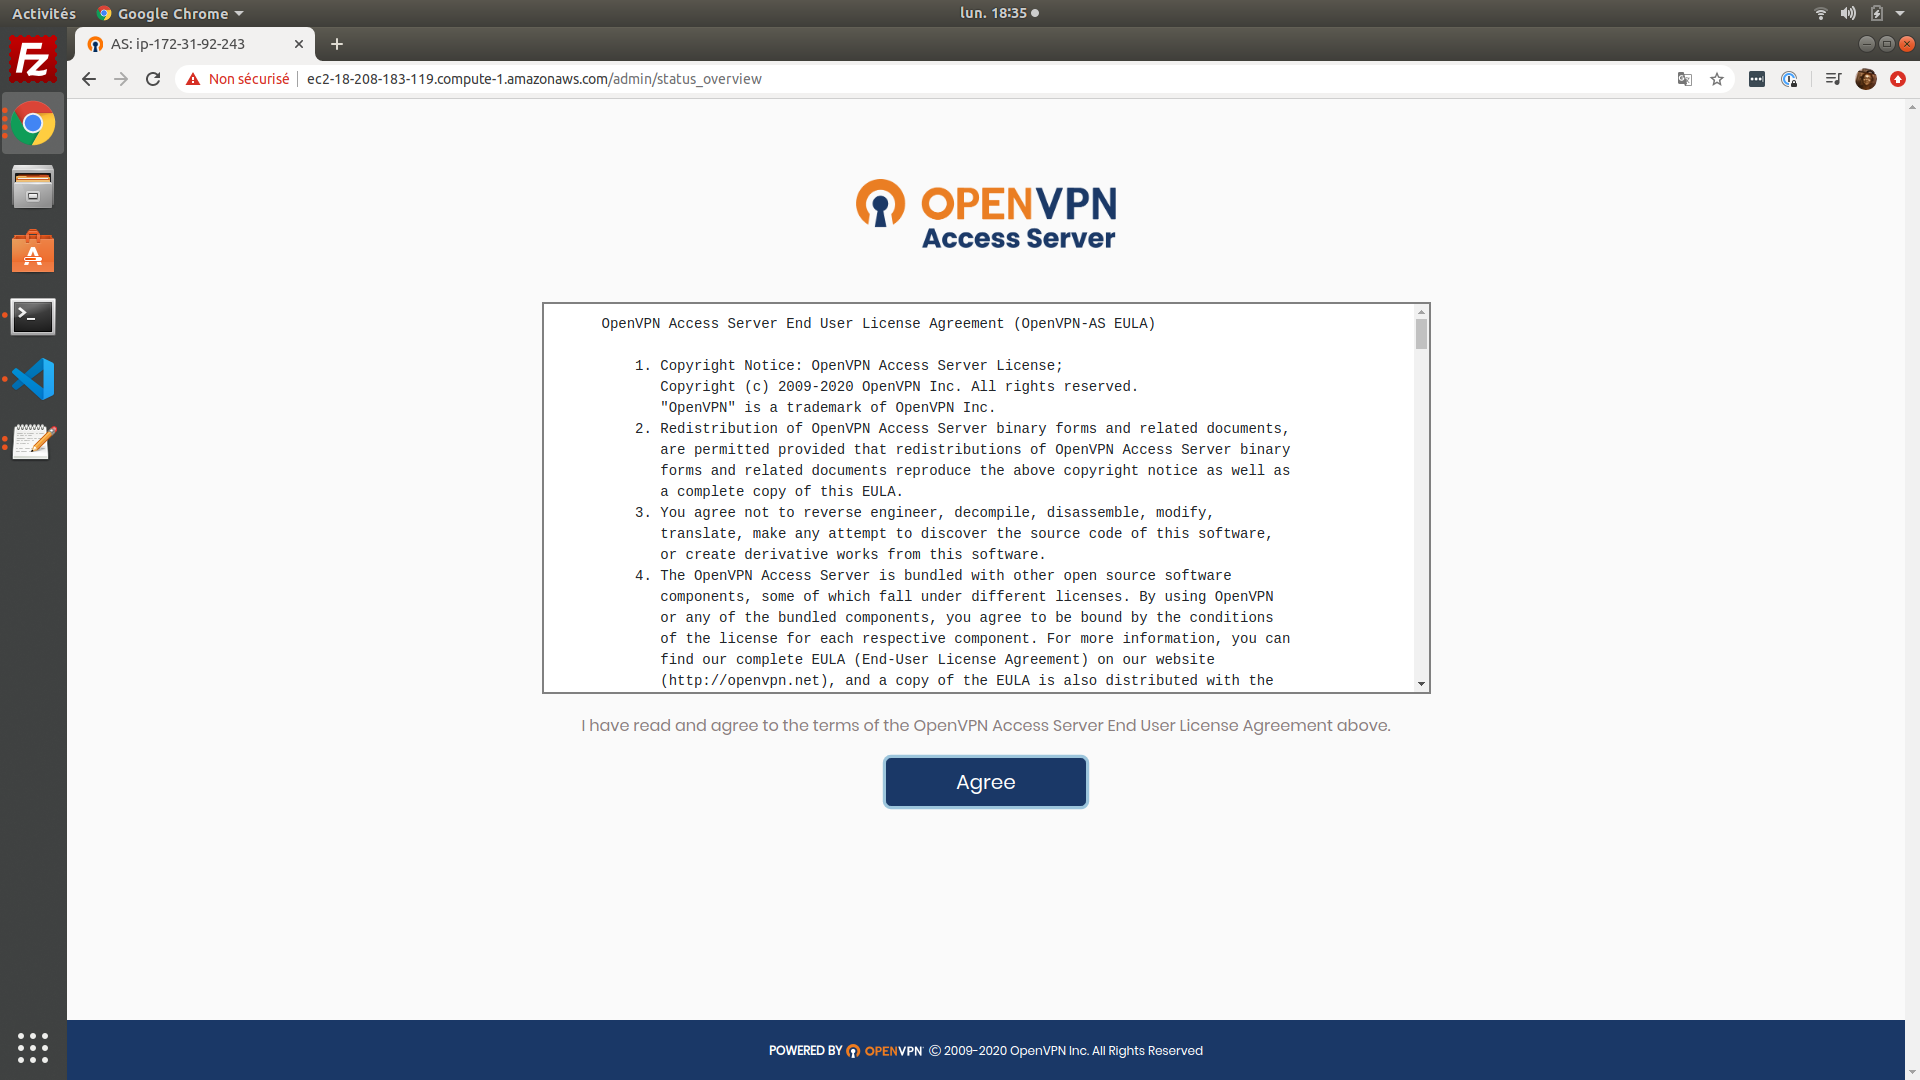
Now, one last thing, go one the Configuration > VPN Settings on the left, scroll down until you can set the following option : route all the traffic through the VPN !
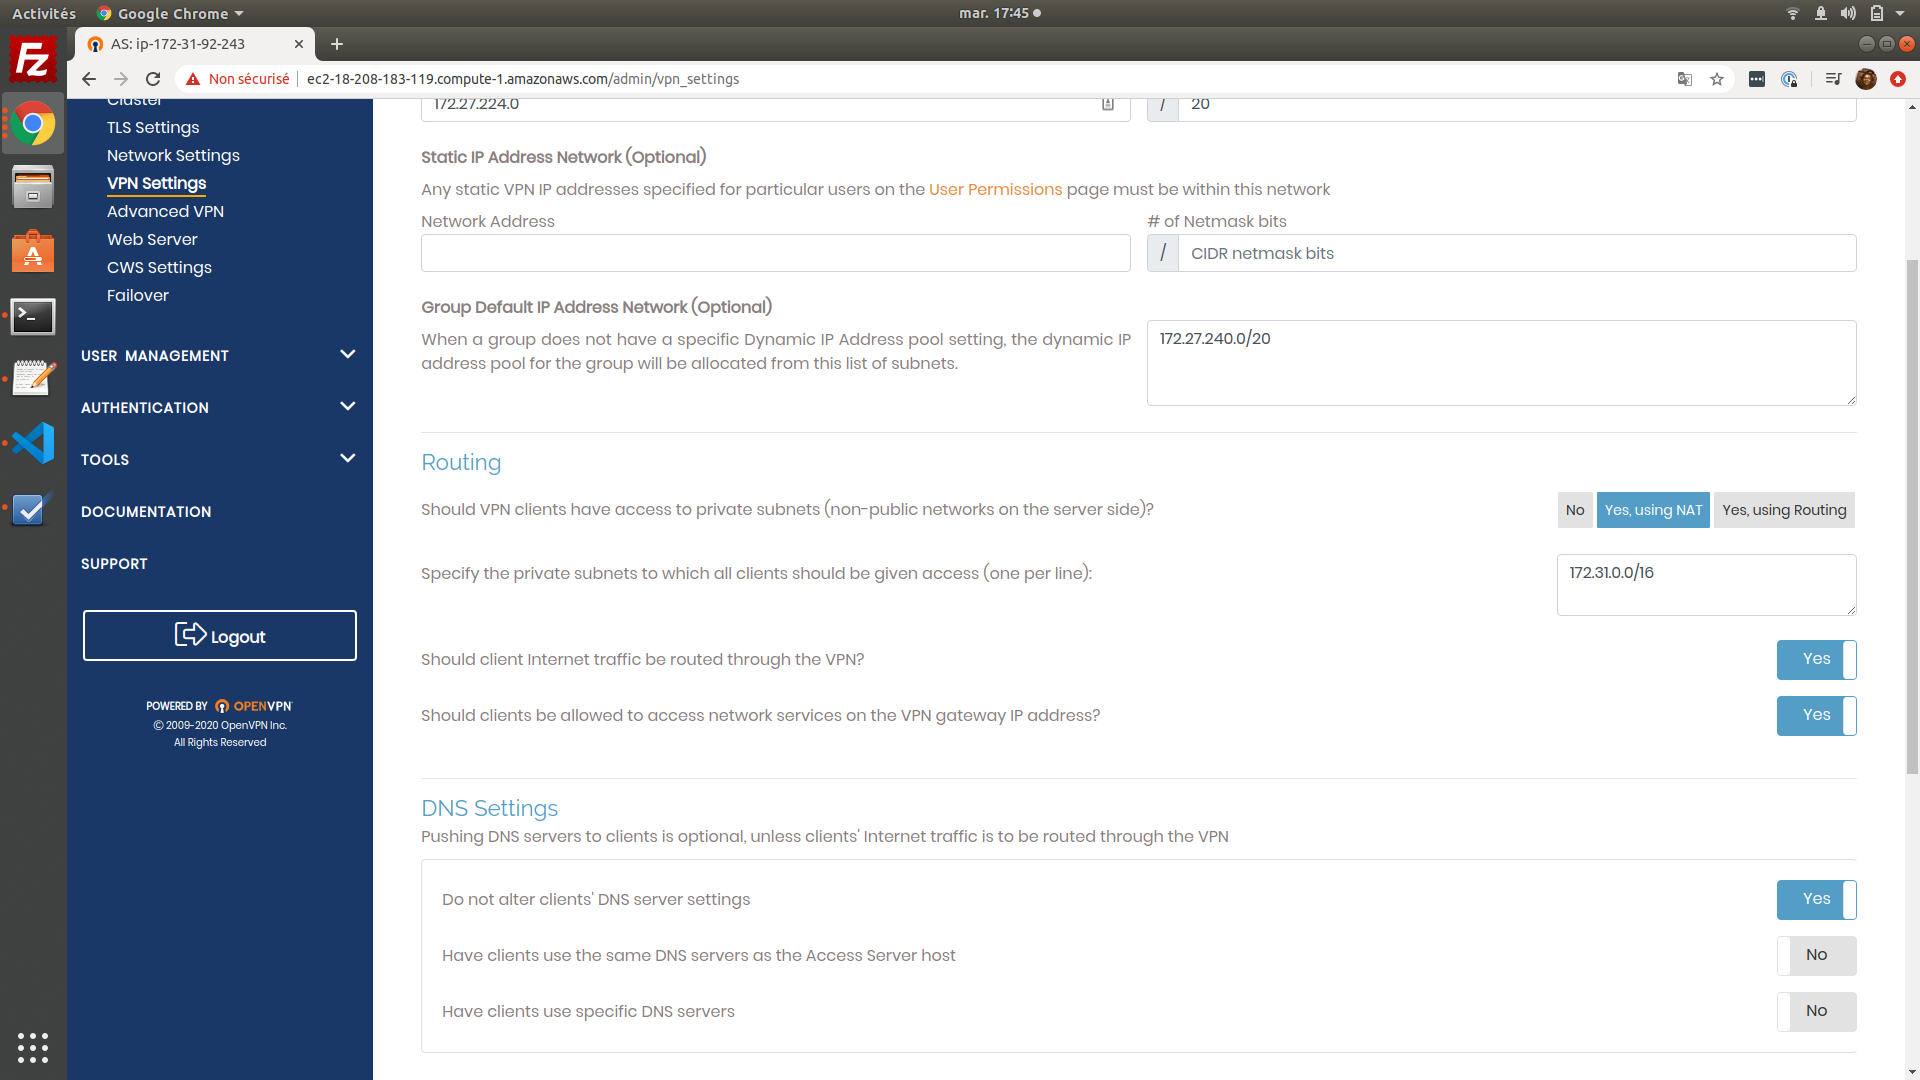
Save and Update Running Server.
Tadam!
You did it !
What's next ?
We installed and deployed a VPN on the cloud!
The next step is, how to connect to this VPN, as a user !
We are going to see that on the following article :)
Important
This is just an example of what you can do with AWS EC2, you can install pre-configured instances with almost everything, like a Windows Server, or a specific version of Linux , you just name it, i'm sure it's available on the AWS MarketPlace.
I don't recommend using this VPN for your day to day use, because i am not sure about the limitations regarding the performances (it's the free tier, but i am sure it's somehow limitated somewhere), but you can just play with it and discover AWS services through this tutorial.